
Setting up Airflow can be a challenging and occasionally frustrating process.
This complexity arises from the dual nature of Airflow, functioning both as a library and an application. Typically, libraries maintain open dependencies, while applications tend to specify version constraints. Consequently, a straightforward installation using commands like ‘pip install apache-airflow‘ or ‘pip install airflow‘ may encounter issues.Meanwhile, the documentation often lags behind the latest updates.
1. Prerequisites
- You need a Python 3 environment. Airflow supports Python 3.8, 3.9, 3.10 and 3.11.
- You need a pip or pip3 installation.
2. Installation
Option 1: Install Airflow straightforwardly
pip3 install apache airflow
Option 2: Install Airflow using the constraints file
AIRFLOW_VERSION=2.8.2   # it can be customised
PYTHON_VERSION=3.8.1    # it can be customised
CONSTRAINT_URL="https://raw.githubusercontent.com/apache/airflow/constraints-${AIRFLOW_VERSION}/constraints-${PYTHON_VERSION}.txt"

pip3 install "apache-airflow==${AIRFLOW_VERSION}" --constraint "${CONSTRAINT_URL}"
3. Run Airflow
Option 1: Run Airflow Standalone
This command initializes the database, creates a user, and starts all components.
airflow standalone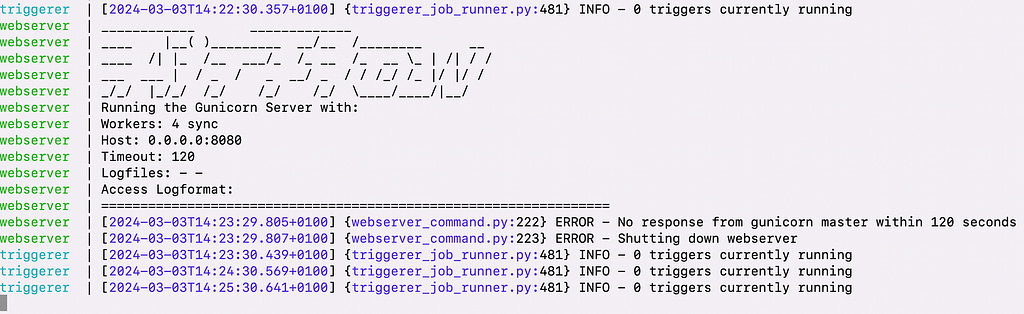
Then you can visit http://localhost:8080 in your browser and log in with the admin account details shown in the terminal.

Option 2: Run Airflow step by step
- Initialize the metadata database where Airflow stores its configurations, metadata, and job state.
airflow db init
- Start scheduler. The scheduler is responsible for triggering your tasks at the specified times. Run it in the background.
airflow scheduler
- Start webserver. The web server provides the Airflow UI, allowing you to monitor and manage your workflows.
airflow webserver
You can visit http://localhost:8080 in your browser and you will see the user interface.

The default login information should still be:
- Username: airflow
- Password: airflow